
Make Your Own Plant Labels: Fun and Easy!
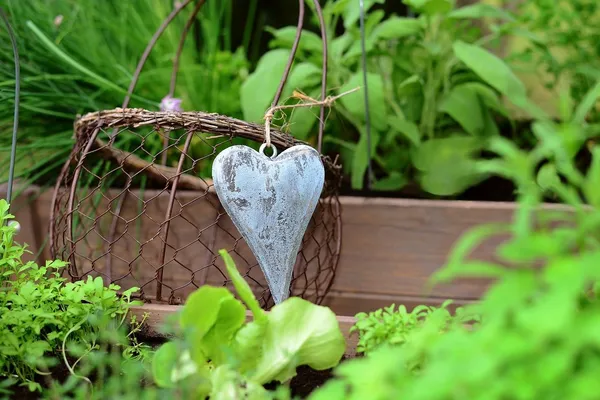
Do you also have a hard time remembering all those Latin plant names? Or do you sow seeds and take cuttings from many plants and find it difficult to remember later exactly which plants you sowed or propagated? You’re not alone! Labeling your plants is a great way to help with this. Of course, you can buy labels, but making your own plant sticks and labels is so much fun! You can use all kinds of materials for this, such as wood, cork, stones, and stickers.
Why Make Your Own Plant Labels?
- Sustainable: By reusing old items, you give them a second life in your garden.
- Creative and fun: Making plant labels is a fun little project that lets you use your imagination.
- Great value: You can easily make them yourself using materials you probably already have at home.
- Unique and Personal: Your labels perfectly match your garden and your personal taste. This is how you can make your garden even more special!
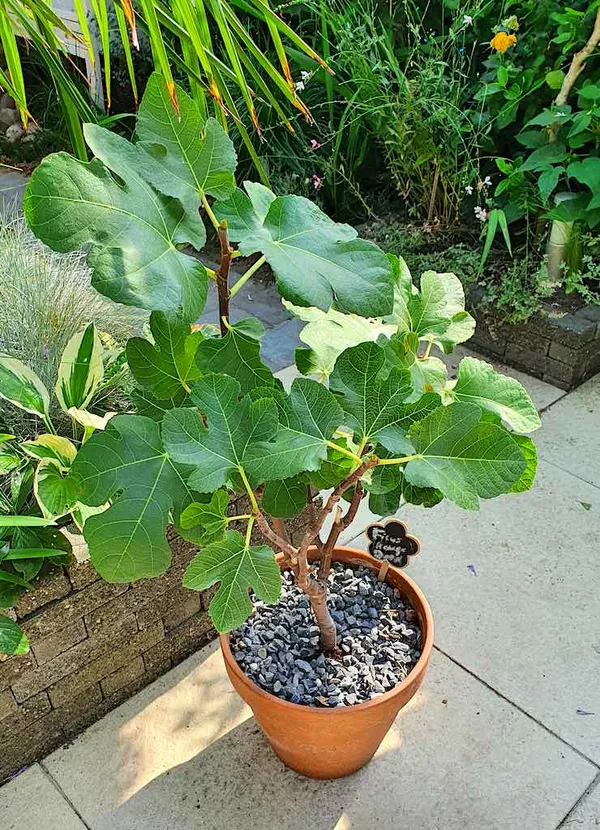
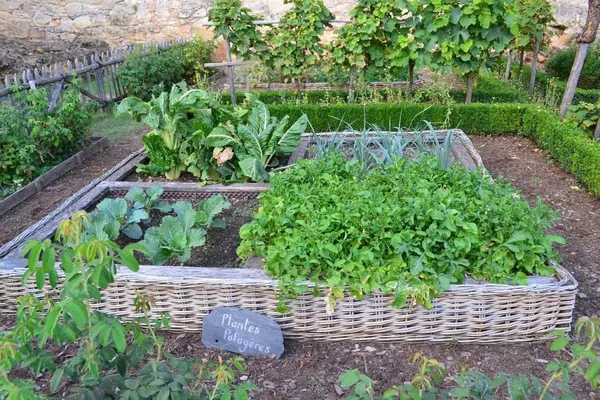
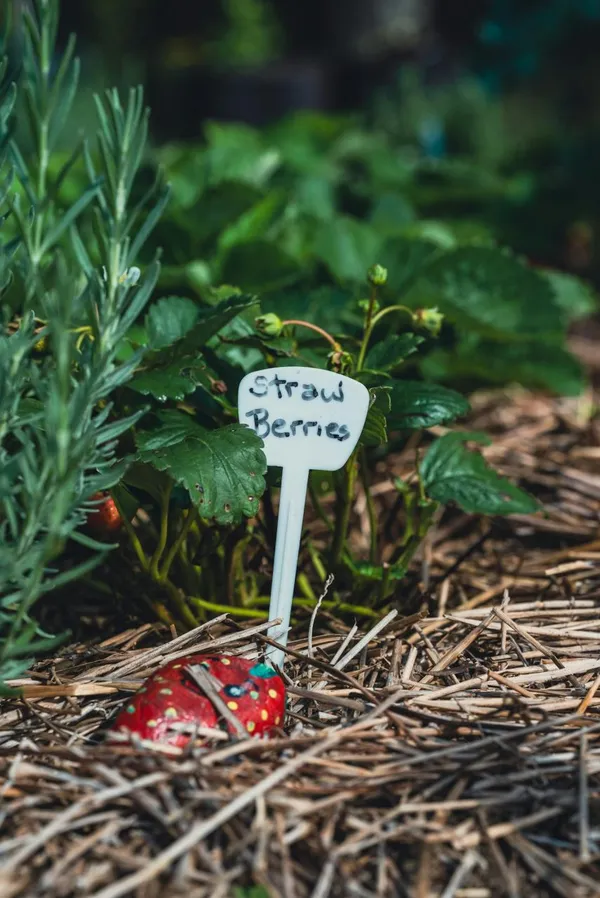
Materials to Use
You can make plant tags out of all kinds of materials. You probably already have many of these materials lying around somewhere. Or you can buy inexpensive materials to make beautiful, personalized tags for your plants. Here are a few creative and sustainable options:
Wooden popsicle sticks
- Use a waterproof marker to write the plant's name on the stick.
- Optional: Paint them in cheerful colors for a playful look.
- A coat of varnish will make them last longer.
Cork
- Use old wine bottle corks.
- Write the names of the plants on the cork with a waterproof marker.
- If desired, place them on a stick, such as a skewer or a wooden popsicle stick.
Stickers
- Use weather-resistant stickers (for outdoor use) to write the names of your plants.
- Stick the stickers on smooth surfaces such as jars, plastic strips, or metal spoons.
- You can also have stickers made with your own name or a fun logo on them—that way, you can make your plant labels even more personal!
- Choose colorful stickers to make your garden even more cheerful.
- These days, there are also special eco-friendly or sustainable stickers (PVC-free), such as those from Stickerkoning.
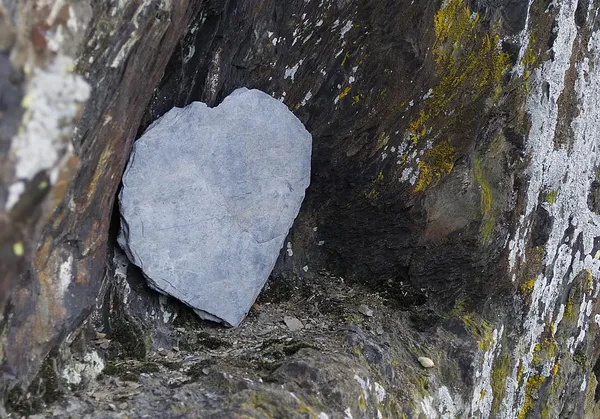
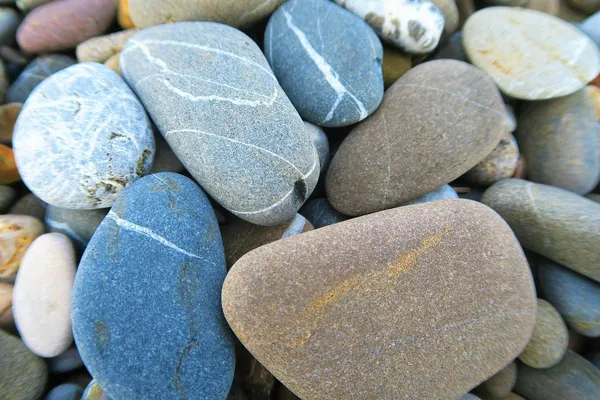
Smooth stones or boulders
- Collect smooth stones or boulders.
- Write or paint the names of your plants on the stones.
- They are sturdy and can withstand all weather conditions.
Slate
- Use a flat piece of slate as a kind of chalkboard.
- Write the name on the slate with a waterproof white marker or chalk.
- Please keep in mind that chalk fades quickly.
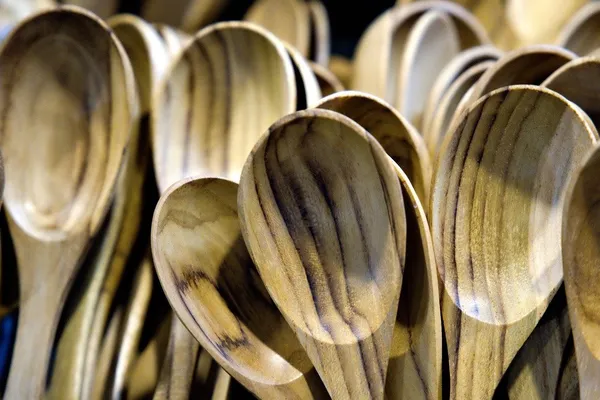
Old spoons
- Use wooden or metal spoons as plant labels.
- Write or engrave the names of the plants on the spoon.
- Stick the stem in the ground for a unique, vintage look.
Terracotta pots
- Turn an old terracotta pot upside down.
- Use a waterproof marker to write the name of the plant on it.
Plastic or metal strips
- Recycle plastic, aluminum, or metal from old materials and packaging.
- Cut the material into strips and write the names of your plants on them.
- Make a small hole on the side and attach a piece of string to it.
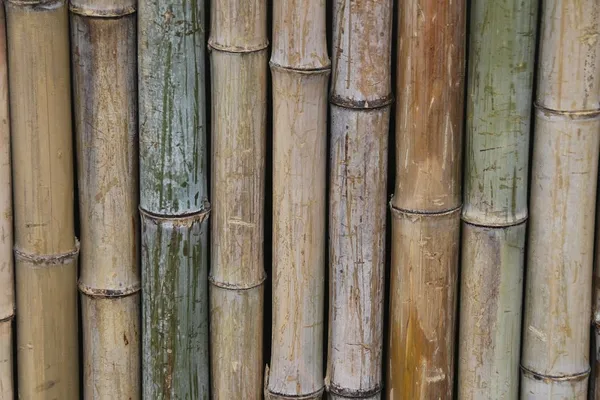
Bamboo
- Use thicker, woody bamboo stalks.
- Cut the bamboo open (partially or diagonally) and write on the inside with a waterproof marker.
- This also works with thicker shrub branches (though it won't last as long).
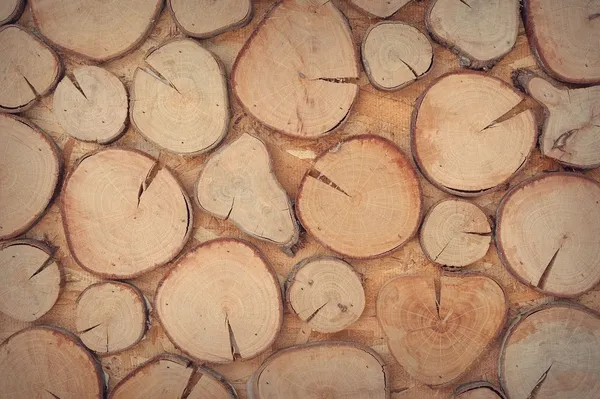
Tree Trunk Slices
- Choose a tree trunk that isn't too big, but has enough surface area to write on.
- Slice it into rounds about as thick as a coaster.
- Write the name of the plant on the wood with a waterproof marker.
Rope and cardboard
- Cut out pieces of sturdy cardboard and write the names of your plants on them.
- Tie them to sticks or plants with string.
- Laminate the cardboard to make it weather-resistant.
Old CDs or DVDs
- Reuse old CDs or DVDs.
- Write the name of the plant on the shiny side with a marker.
- Place them on a stick, hang them in the garden, or stick them partially into the ground.
- Just keep in mind that this can be quite reflective (which makes it useful as a scarecrow in the vegetable garden).
Tips for Making Plant Labels
Use waterproof markers
Write the plant names on the label using a good waterproof marker so the text can withstand rain and sunlight. This will keep your text clearly visible for a long time. That’s handy, because often you don’t realize until (much) later what kind of plant this was again…
Consider laminating or varnishing
You can protect wooden plant labels by applying a coat of varnish. This creates a transparent protective layer that shields the surface from water and wear and tear. Apply the varnish with a brush and let it dry thoroughly. Laminating is also an option, especially for cardboard labels.
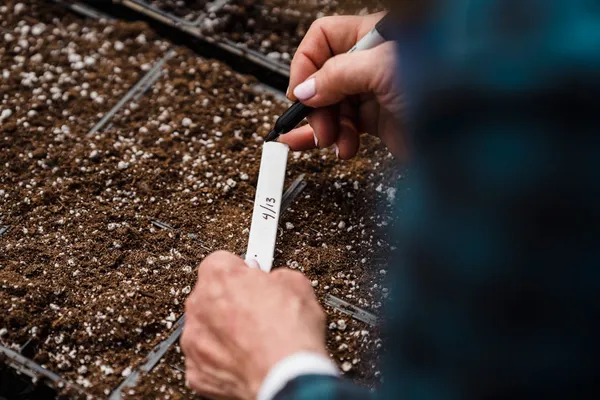
Simple Step-by-Step Guide: Wooden Plant Labels
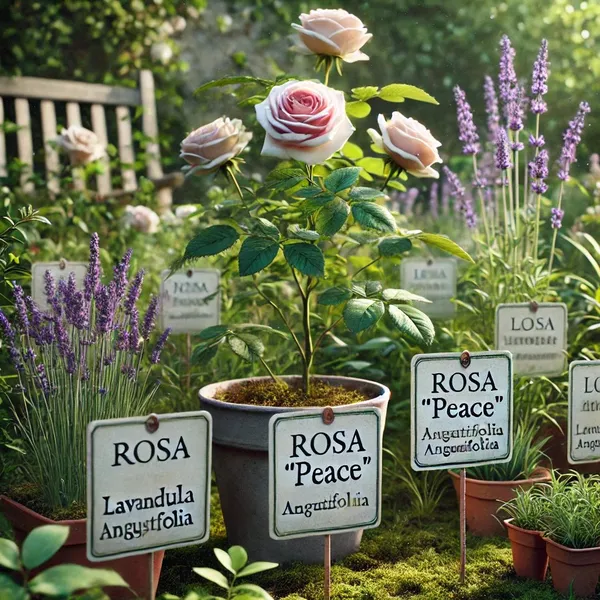
- Gather materials such as wooden popsicle sticks or old slats.
- Paint them in a color of your choice (optional) and let the paint dry thoroughly.
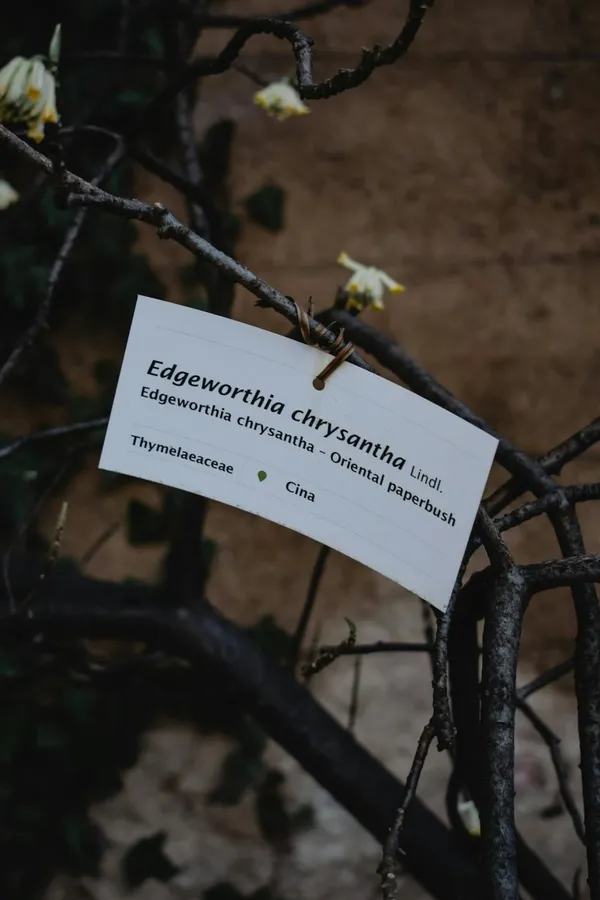
- Write the (Latin) name of the plant in large, clear letters using a waterproof marker on the chosen surface, or attach a weather-resistant sticker to it.
- You can apply a coat of varnish to the wood or laminate the label for extra protection.
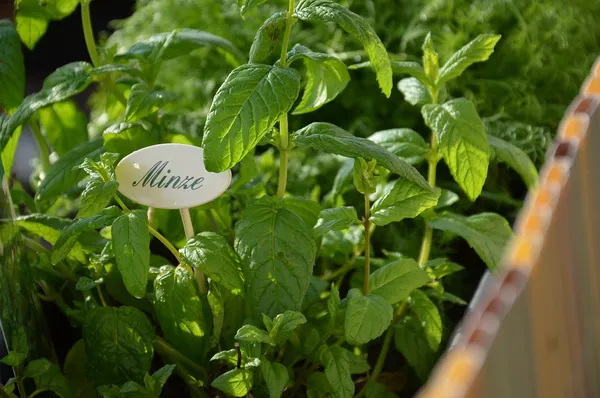
- Place the labels next to your potted plants or in the garden.
Let's get started!
Making your own plant labels is a fun and practical way to keep your garden organized. Use old materials—or brand-new ones—to create beautiful, personalized plant labels for the plants, seedlings, and cuttings in your garden.
Get started and let your creativity flourish!