
Here's How You, Too, Can Take the Best Garden Photos
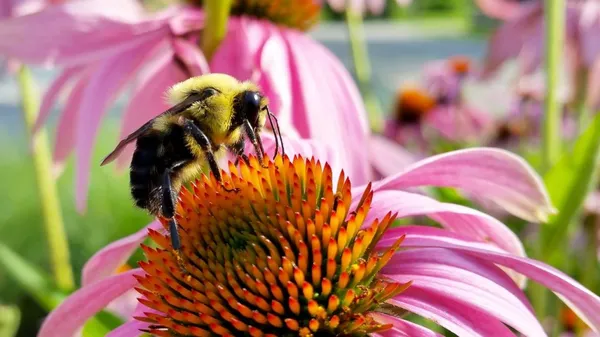
Taking photos of your garden… perhaps the most enjoyable activity in the garden (after gardening itself, of course). Do you also enjoy photographing your garden, flower beds, plants, and the animals in your garden? You could fill countless photo albums with your garden photos, but how many of these photos are truly beautiful or special? Often, there are far fewer than you’d think!
If you take an objective look at the photos you’ve taken, you’ll suddenly realize that the photo is out of focus, or that the subject itself is out of focus, or that it’s less striking than you’d imagined. Upon closer inspection, you may find that part of the subject is cut off, or that you’ve actually captured too much (such as your own shadow, foot, or a cluttered windowsill).
Still, taking great photos isn't just for professional photographers. With these tips, you, too, can take the most beautiful garden photos!
11 Tips for Better Garden Photos (That Are Worth Sharing)
- Always make sure your lens is clean. Clean the lens before you start taking pictures. Use only a cleaning cloth designed for this purpose. This prevents blurry photos or dirt from appearing in all your shots.
- Use a good camera, preferably one with image stabilization and at least a few basic settings for adjusting your photos (such as shutter speed, aperture, or good shooting modes). Consider a high-quality compact camera, or better yet, an SLR camera or Canon mirrorless camera.
- Try not to include multiple subjects or too many details in a single frame. Choose one subject and frame it appropriately. This prevents the image from looking cluttered or lacking a clear focus.
- It’s best to take photos in the morning light, in the afternoon, or in the evening light. This provides the most beautiful light (and atmosphere) for your photos. Midday is the worst time to take photos. The light is very harsh then, and you’ll quickly run into problems with harsh, sharp shadows.
- Don’t take photos when it’s very windy. And definitely don’t take macro shots or close-ups. You’ll find that upon closer inspection, the images are often out of focus. Of course, you can also use this effect to your advantage by creating movement in the photo (think of swaying ornamental grasses in a larger flower bed).
- Make use of depth of field. For example, by blurring a plant in the foreground or letting a flower bed fade into the background. This creates a sense of depth.
- Make sure you have a plain background. The greenery in the background usually works well, but what if you want to highlight details of a plant or create a clear contrast? In that case, use a screen (e.g., made of white or black cardboard) as your background.
- Study your subject. Know when a plant is at its most beautiful, or where birds and other animals are often found. When it comes to animals, it helps to observe them for a while (binoculars are ideal for this), so you can predict their behavior and take the perfect photo later.
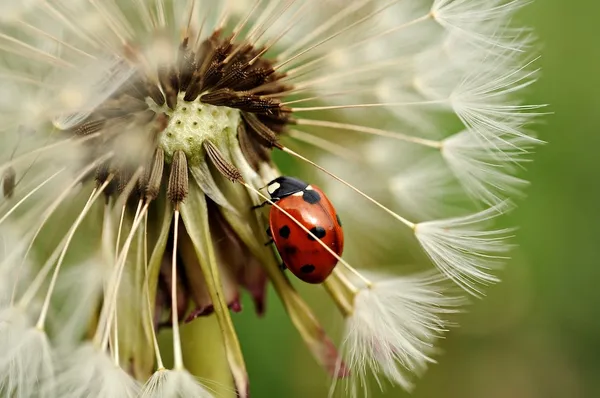
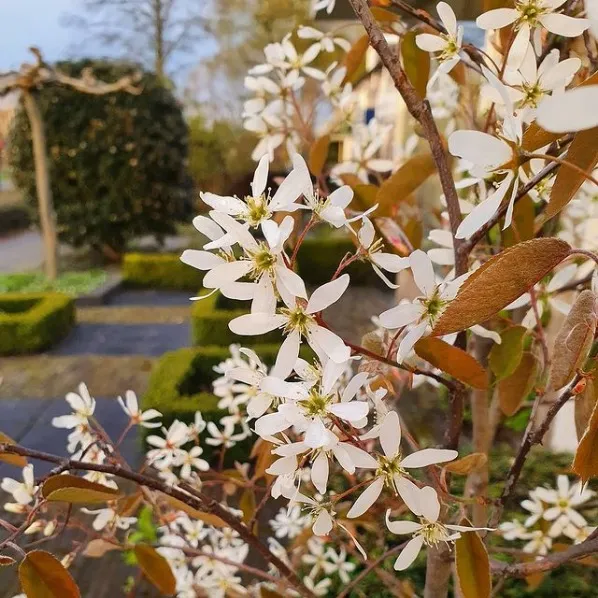
- Use a macro lens or the close-up mode if you want to take detailed photos. This will help you avoid blurry photos. Take macro photos in sufficient light, and preferably use a tripod.
- Use the grid system (or golden ratio). To make a photo better and less boring, don’t place the subject right in the center. Mentally divide the frame into a grid of 9 equal squares (rule of thirds). The intersection points (where the lines cross) are perfect for placing the subject—or an important part of it. Many cameras now have this feature as a standard option to display a grid on your screen.
- Don’t place the horizon in the center. This can quickly result in a boring photo. When taking photos of your garden or flower bed, make a conscious decision to use a low horizon (to make the garden stand out against the sky), or a high horizon (to show as much of the garden as possible; this is also ideal if the sky is dull or gray).