Here's How to Pre-sow Indoors
Growing your own plants from seed is fun, not difficult at all, and by starting indoors, you can get a head start!
It's also a very inexpensive way to get new plants for your garden—after all, how much does a packet of seeds cost?
You can either start seeds indoors or Sowing outdoors (directly) in the ground. Below is a step-by-step guide to starting seeds indoors.
When can you start sowing indoors?
The advantage of starting seeds indoors is that you can begin sowing your plants for the coming gardening season very early. You can sow some plants as early as January or February. Peppers are a well-known example of this. Most varieties can be sown indoors in March or April. These days, virtually every packet of seeds lists the correct sowing time (often for both indoors and outdoors).
What do you need to start seeds indoors?
- Seed packets (from the store, or maybe you've already collected some seeds yourself?).
- Potting soil, or better yet, seed- and cutting-starters (e.g., with vermiculite or perlite).
- Planting pots and/or seed trays (you can also make these yourself out of toilet paper rolls, newspaper, etc.).
- A shallow container with a little water and/or a plant sprayer (it’s best not to use a watering can, because the stream of water can quickly become too strong).
- Labels, tags, or sticks (and a pen or pencil), so you’ll still know which one is which later on…
- Optionally, a mini greenhouse (not necessary, but handy).
- A place for your seedling pots (usually not a warm windowsill; a bright but unheated room is better).
Step-by-Step Guide to Pre-Sowing
Preparation
- Once you've gathered all the necessary supplies, you can start by filling a container with a layer of water.
- Fill your seedling pots or seed trays with (seed-starting) soil and press it down gently.
- Place all your pots or seed trays in the container you had already filled with a layer of water, and wait until the water has been thoroughly absorbed by all the soil.
- Get your labels and plant markers ready now by writing down the varieties you’ll be sowing here. That way, all you’ll have to do later is stick them in the ground.
Time to plant!
- Depending on the size of the seeds, either scatter or place a few seeds in each seedling pot, or spread them out across the seed tray.
- It's better to sow just a few seeds than too many. That saves a lot of extra work.
- Cover the seeds with a little soil, then moisten them slightly with a plant sprayer.
- Place the labels, tags, or labels you made earlier in the jars, or write them now.
- Place the container with the seedling pots or seed trays in a bright, warm spot. A windowsill above a radiator is often too warm.
- Water a little bit at a time, so that the soil stays slightly moist, but make sure it doesn't get too wet. You can use a plant sprayer, for example.
Transplanting
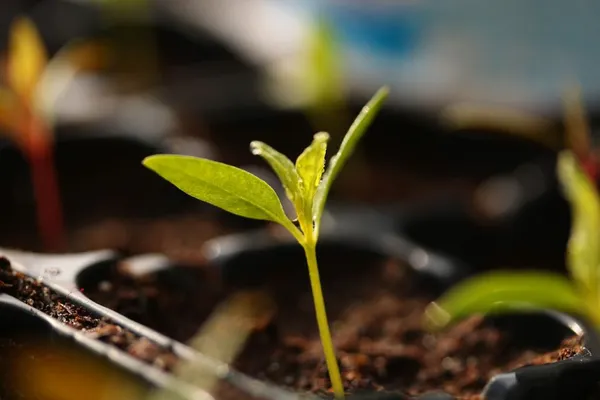
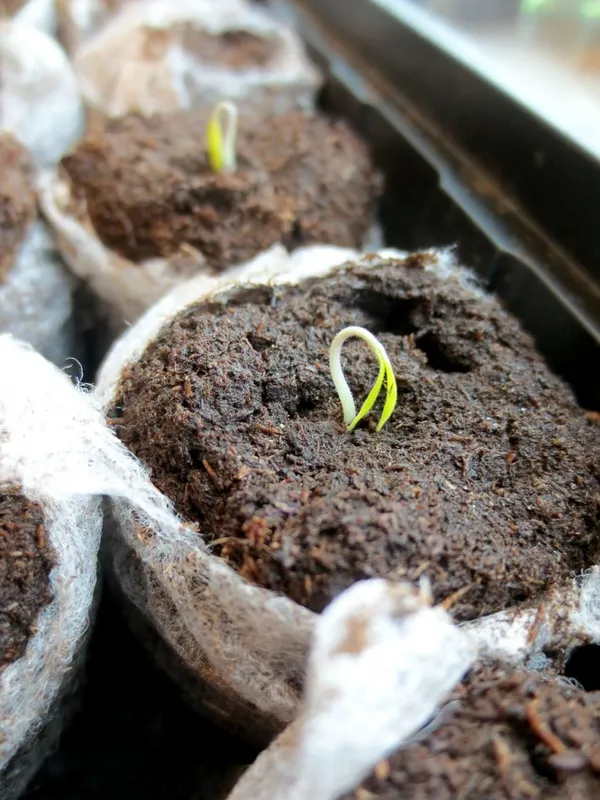
- Depending on the type of plant, the first leaves appear after a few days to a few weeks. These are called cotyledons. Strangely enough, they do not have the same shape as the plant’s own leaves; instead, they are always very small and simple.
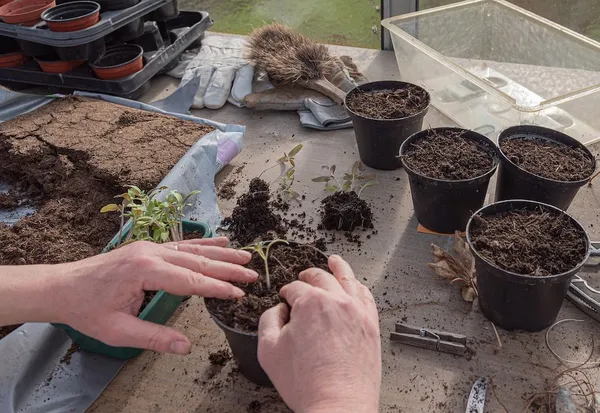
- Once the first true leaves have appeared on the seedlings, it's time to transplant them. This means moving the seedlings into a larger pot.
- Find a slightly larger pot and fill it with potting soil.
- Use your finger, a stick, or a dibber to make a small hole where you can easily place your seedling later.
- To transplant your seedlings, gently grasp one of the leaves and pull it out of the seedling pot. If done correctly, you should be able to carefully pull the entire plant—roots and all—out of the pot.
- Place your seedling in the larger pot and gently press the soil down around it.
- Water carefully (you can also use a plant sprayer again).
- Place your new pot (back) in a spot that’s as bright and warm as possible. Now your plant can really start to grow.
- Of course, you should continue to water it sparingly on a regular basis so that the soil stays slightly moist.
Finally, outside
- Once your plants have grown quite a bit and it's no longer too cold for them outside, you can take them outside.
- But you should never move them outside all at once: let your plants gradually adjust (harden off).
- Leave your new plants outside for a little longer each day, and be sure not to leave them outside overnight too soon. If you have one, you can also use a cold frame or cold bed.
- Once your plants have gradually acclimated to the outdoor temperatures (about a week) and there’s no longer any risk of night frost, you can move them to their permanent spot outside in your garden. Now they’ll really start to thrive!